In the last post I was planning a replacement for my 3D printer enclosure’s frame - swapping the fibreglass rods and plastic corners that the cat had cracked for zinc-alloy corner brackets and aluminium extrusion from ooznest.co.uk. The parts have now arrived, and it was time to build it.
The parts arrive
I received the corner brackets yesterday, and the cut metal today.
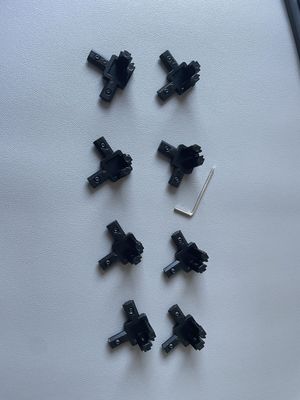
The brackets are metal, so they aren’t going to break like the old ones did.
I was a touch nervous when the cut metal came today - the box was very long, longer than the printer itself.
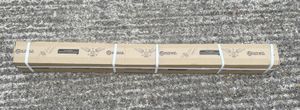
When I opened it, the metal was well padded, and came with a sticker and a pack of Love Hearts sweets - a nice touch!
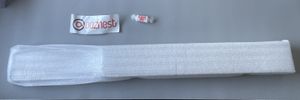
It took a bit of effort to unwrap the metal parts…
Me and my helper use rubber gloves for this - first to avoid fibreglass itchy bits from the old frame, but also due to the sharp edges on the metal.
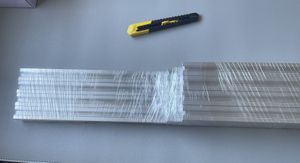
The parts each fit the right dimensions for length, width and height. So I can start building.
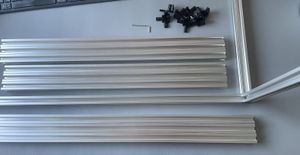
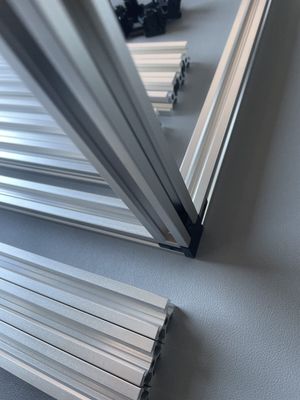
The brackets fit… That’s a good sign.
Building the frame
The parts look good, this crazy scheme might just work. There’s an issue in how I get it all into the tent, and if I can do it without removing the printer first. This metal is a bit sharp too.
I enlisted some help from Taran Badesha - for photos and some of the manoeuvring. I had to bring the assembly into a larger bedroom, it took a few steps to come together.
I start by adding the corner parts onto the longest parts, then I assemble the base.
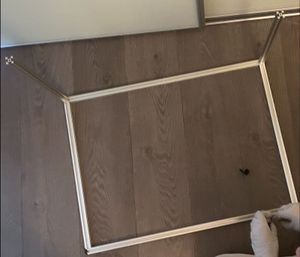
I build the rear up from the base, then the front. I have to be careful to keep the parts square and level as I go.
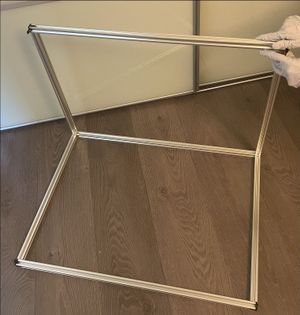
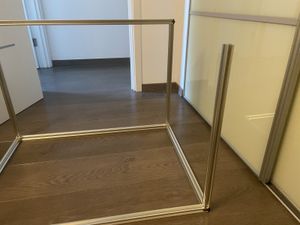
Finally, I bring the top width parts into place, and tighten the top corners.
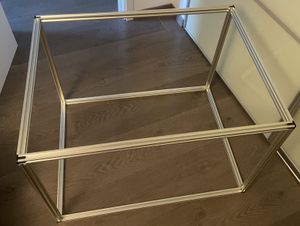
Out with the old frame
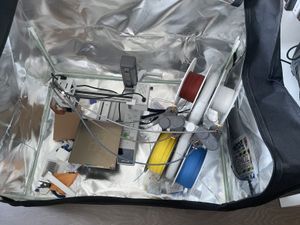
I then need to dispose of the old fibreglass poles and cracked corner parts. We pull them apart, and they go in the bin. I left the printer in place, and the tent part kept its shape.
Fitting the new frame
We then carefully pull the whole enclosure out from the wall, unplugging the printer. Then fit the new frame in.
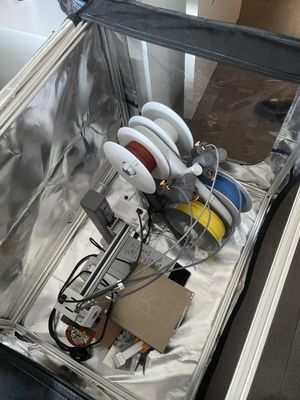
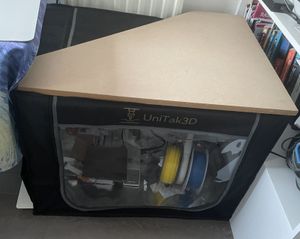
It fits really snug, which is a huge moment of relief as my measurements were correct. I then put the printer back in, and plug it back in.
Wrapping up
Overall, I’m hugely happy with how this went together, and hats off to ooznest.co.uk for the extrusion. The new frame is far more rigid and solid than the fibreglass, and should last a lot longer, as well as being cat proof. Being common metal parts, and common corner parts, if I see any problems, I can replace them.
Now I’ve used this technique, I could take the same approach - buying cut-to-length aluminium extrusion and corner brackets - to build a robot chassis or other projects too.