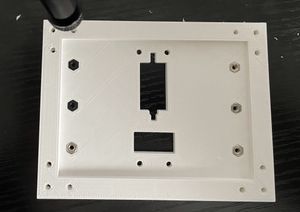
The attachment mounting plate for the robot we’ve been building in my home lab is coming together today.
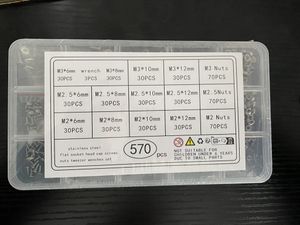
At the last update, we were waiting for a set of countersunk bolts and m2.5 nuts. This arrived so we could assemble it. Danny made the assembly, so during contact time we can focus on attaching this plate to the robot.
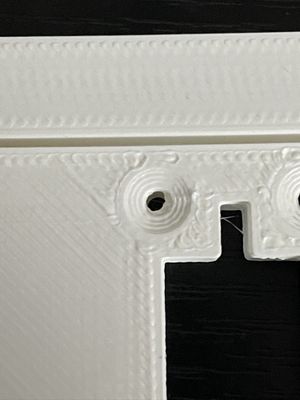
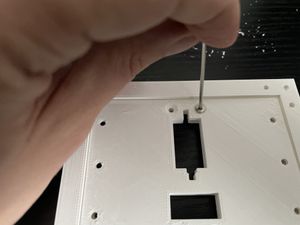
When trying the first bolt, Danny realised that the holes had some 3D printing artefacts that made them too tight for m2.5 bolts, so they needed boring out.
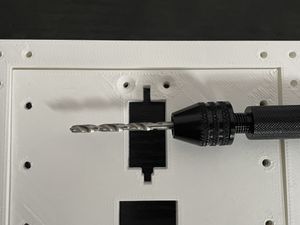
Danny used a Pin Vice with a 2.5mm drill bit to bore out the holes. A robotics lab, at least with robots this size, should have one of these for jobs too fine for a powered drill to be trusted.
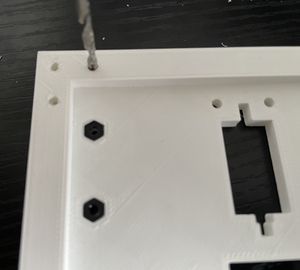
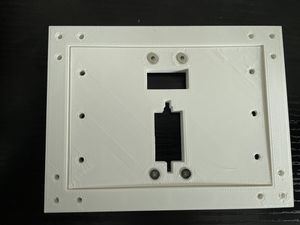
The plate is now ready to be attached to the robot. It’s a satisfying moment seeing it all work together.
Just to see it tarting to come together, Danny then tried the Nerf turret on the mounting plate:
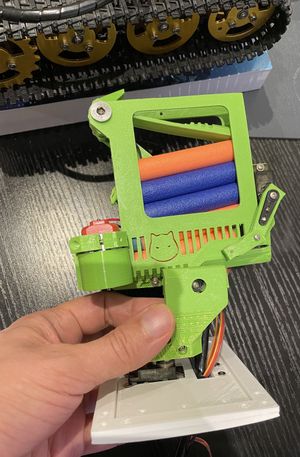
This kind of works, with the cable ports doing what they should. There will be another plate here to bolt the servo to, so the fiddly job of attaching the servo isn’t needed, and the 6 outer holes on a self-aligning plate would be used.
We are looking forward to the next parts of the design, attaching it to the robot, and making the nerf plate. Lots more CAD and 3D printing coming up!