Piwars 2024 Disaster Zone Update - Nerf Turret
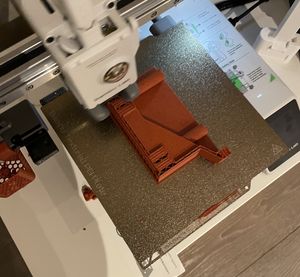
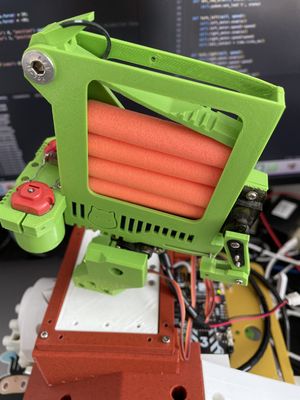
This week, Danny finally finished printing the FreeCAD designed parts to mount the Nerf Turret onto Big Ole Yellow, using the shiny new BambuLabs A1 Mini printer to get really smooth prints, no warping and warp speed.
New 3D Printer
Danny treated the lab to a BambuLabs A1 mini 3D printer. This, like the last time we had a new 3D printer, was a total revelation. It is very, very quick compared with the Flashforge Finder, along with very precise. The prints are smooth, clear and without warping. The printer is quiet and fast. The AMS means we can have multiple filaments in a print! The A1 Mini also has a larger build volume of 180mm x 180mm x 180mm compared to the Finders 100mm x 100mm x 100mm.
Danny has been trying some experiments with embedded nuts on the Finder, but still find that mostly, threading plastic is easier, but the nuts will mean more bolt connections/disconnections before a thread is too worn to use.
Danny used FreeCAD to design a bunch of hull parts to support the attachment plate in FreeCAD and was able to print out these large parts.
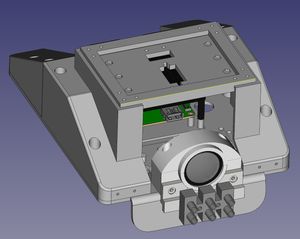
Earlier attempts on the Flashforge took 5 hours to print, and came out badly. The replacements took only 2 hours, despite being larger (with mid and front sections as one part).
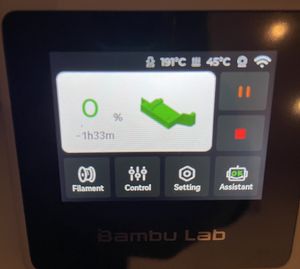
1 Hour and 33 minutes is shockingly fast for this part, larger than a part that took 5 hours on my old printer.
The faster times, more reliable prints without warping, larger build size has a lot of confidence. This will definitely help further competitions.
Programming the servo motors
With the turret attachable, and servo motors wired into the Yukon, the next task was to program the Yukon so we could control the turret. I’ll let Emma explain.
We tried a new cool feature called liveshare in VSCode where we could collaborate on the same code at the same time.
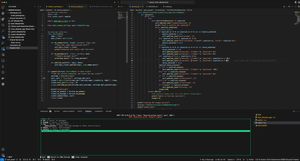
We created some new functions that could set a servo motor to a specific angle or disable it. We surfaced it through mqtt and tested it by publishing mqtt messages through command line and changing the angle of different servo motors that controlled the nerf gun. The first problem we ran into is Danny tried to import typing which doesn’t work in micropython. We debugged this problem through the Yukon repl. The second problem was that we had to unbolt and re-bolt one of the servo motors since the position of 0 was not at the centre.
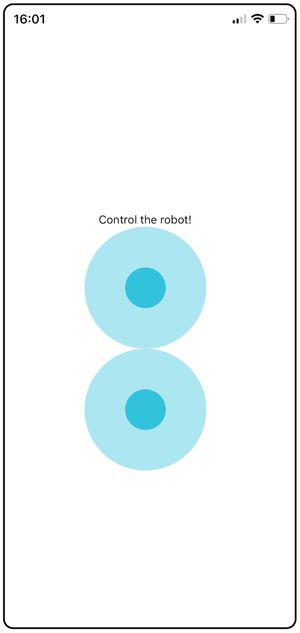
Following this, we added a second joystick beneath the one controlling the wheels in the ReactNative phone app. Save for the problem of left and right being reversed, this had no major problems and worked well.
Playstation 4 Controller PAD
In the evening, Danny paired a P4 remote via bluetooth, making a MQTT service to put its event on the bus, and this is happily driving the robot and turret. This was using the awesome Approx Eng Python Controller library. Note that the system “joystick” does not need to be installed, the routine was this simple:
- Use bluetoothctl to pair the controller
- Use the Approx Eng library to read the controller in Python
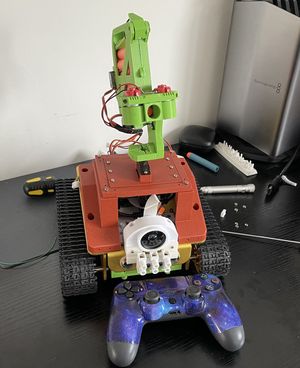
The PS4 controller MQTT service is putting messages on the MQTT bus to directly drive motors and servos. The controller pad itself is suitably Orionrobots themed with Nebulae and stars!
Next steps
Danny needs to print a better servo attachment plate. We need to connect the rollers for the nerf gun and a button for the trigger.